Fix Your Coffee
Espresso Channeling: How to Spot It and Stop It
Espresso channeling is water punching a fast path through the puck. It tastes sour and harsh at once, and puck prep fixes it, not grind.
Sections9
- What espresso channeling actually is
- How to spot espresso channeling
- Clumps in the grounds are the most common cause
- An uneven or tilted bed sends water sideways
- A dose that does not fit the basket
- Grind size and grind consistency
- Baskets, tampers and edge gaps
- Espresso troubleshooting: what channeling is not
- The verdict on espresso channeling
You pull a shot and it looks wrong. A thin jet sprays sideways, one part of the basket runs pale while the rest still drips dark, and the cup tastes sharp and harsh at the same time. Espresso channeling is the name for that, and it is one of the most misdiagnosed faults in home brewing. People chase it with grind changes for weeks when the problem is happening before the pump ever starts.
Water is lazy. Under nine bars of pressure it will always take the easiest route through the coffee, and if one part of the puck is looser than the rest, that is where it goes. Everything below is about removing the easy route.
Espresso channeling is water forcing a fast path through the coffee puck instead of soaking it evenly. It tastes sour and harsh together, with a hollow middle. The causes are clumps, an uneven bed, a bad dose and a tilted tamp, in that order. Fix puck prep before you touch the grinder, since a finer grind usually makes channeling worse.
What espresso channeling actually is
A well made puck is one even wall of resistance. Water enters from the shower screen, meets the same pressure everywhere, and moves down through the whole bed at the same speed. Every ground gets the same treatment.
A channel is a crack in that wall. It can be a gap at the edge, a soft patch where a clump broke apart, or a hole punched straight through by the first burst of water. Once one exists, it gets worse, because flowing water widens the path it is already taking.
The result is three zones in one basket. Coffee around the channel gets blasted and over-extracts into harsh and dry. Coffee away from it barely gets wet and stays sour and thin. Whatever is left in the middle is roughly correct, and it is not enough to save the shot.
How to spot espresso channeling
The clearest view comes from a bottomless portafilter, which lets you watch the underside of the basket. A healthy shot pulls together into a single dark stream within a few seconds. A channeling shot sprays, spits, or runs pale from one spot while the rest stays dark.
Without one, use the clock and the puck. Watch for a shot that starts slow and then suddenly speeds up, or one that finishes noticeably faster than your usual time at the same grind setting. Both mean the resistance collapsed partway through.
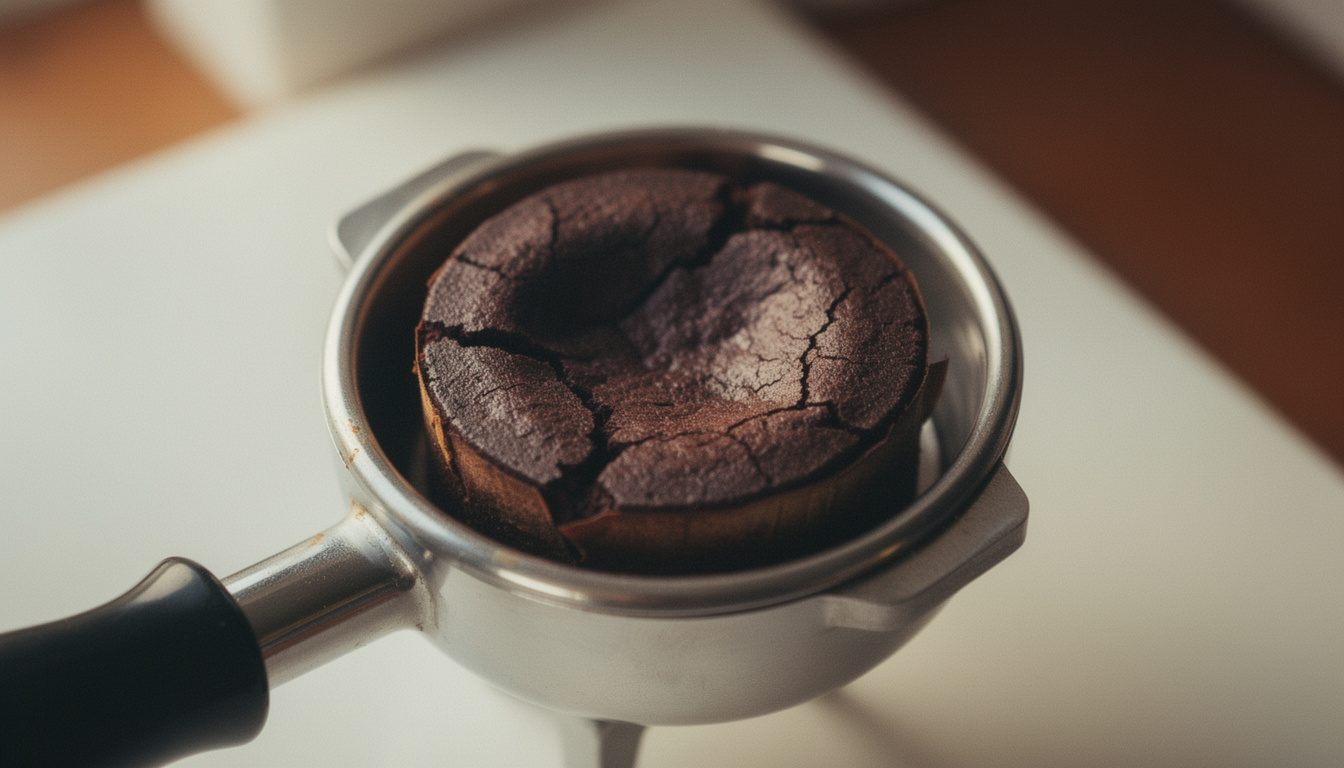
Then read the puck itself. Knock it out and look at the top and the sides. Craters, a deep pinhole, cracks, or a wet, soupy area all show you where the water went. A good puck comes out as a firm, evenly damp disc.
Clumps in the grounds are the most common cause
Grinders throw out clumps. Static and fine particles stick together on the way out of the chute, and a clump is denser than the coffee around it, which means the coffee around it is looser. That looser coffee is your channel.
The fix takes ten seconds. Stir the grounds in the basket with a set of fine needles before you tamp, a technique baristas call WDT. Go all the way to the bottom, work in small circles, and break every lump you find.
This step alone solves more channeling than any piece of equipment. It also matters most on cheaper grinders, which clump more. If you want to test the idea before buying anything, a bent paperclip in a cork does the same job badly enough to prove the point.
An uneven or tilted bed sends water sideways
Once the clumps are gone, the surface still has to be level. A mound in the middle or a slope to one side means the coffee is deeper in one place, so the shallow side has less resistance and water heads there.
Level with the same needles, or a distribution tool set to just skim the surface. Then tamp flat. Level matters far more than force, since a tamp that is hard but tilted builds a wedge, and water runs down the thin edge of it.
Consistent pressure helps but obsessing over pounds does not. Press until the coffee stops compressing, keep the tamper square to the basket, and do not twist or knock the portafilter afterwards. A tap on the side after tamping can crack the puck and open a channel that was not there a second earlier.
A dose that does not fit the basket
Every basket has a working range printed on the box or stamped on the side. An 18 g basket is built for roughly 18 g of coffee. Stray far from that and the puck stops behaving.
Under-dose and there is too much space between the puck and the shower screen. The puck swells, loses shape, and water pools on top before finding a weak spot. Over-dose and the puck presses against the screen, leaves a screen imprint, and can crack under pressure.
As an Amazon Associate, this website earns from qualifying purchases.
Weigh the dose every time. Grinders drift with humidity, bean age and hopper level, so eyeballing it produces a different recipe each morning. A small espresso scale that reads to 0.1 g removes the guesswork from both the dose and the yield.
The dose, yield and grind starting points for every basket size are on the free BrewChart Card, next to a fix tree for sour versus harsh shots.
Grind size and grind consistency
Grind matters here, but not the way people assume. Finer grinds raise resistance, and more pressure means water pushes harder against every weak spot in the puck. That is why grinding finer to fix a fast, spraying shot usually makes it spray more.
Grind consistency is the part that genuinely helps. A grinder that produces a lot of dust alongside larger particles builds a puck with uneven density baked in, and no amount of stirring fully removes that. Fines migrate down during the shot and block the lower layer unevenly.
This is the honest case for a better grinder. A stepless espresso burr grinder gives a tighter particle spread and small, repeatable adjustments, which is what makes dialling in feel like progress instead of guessing. Fix your puck prep first, though, because a great grinder cannot save a tilted tamp.
Baskets, tampers and edge gaps
Water loves the edge of the basket. If your tamper is even a millimetre or two narrower than the basket, it leaves a ring of loose coffee around the rim, and the shot will find it every time.
Measure your basket and match the tamper to it. Common home sizes are 51 mm, 53 mm and 58 mm, and a tamper that fits properly should feel snug going in.
Baskets wear out too. Dents from knocking the portafilter on a hard edge, or holes clogged with old coffee oil, change the flow pattern across the base. Hold the basket up to a light and check the pattern looks even, scrub it regularly, and replace one that has taken a beating. A puck screen on top of the coffee also helps spread the first burst of water and keeps the screen clean.
Espresso troubleshooting: what channeling is not
Not every bad shot is a channel, and treating the wrong fault wastes weeks. If your espresso tastes only harsh and dry, and the timing is long, that is straightforward over-extraction. Grind coarser or cut the yield, and read why espresso turns bitter for the full ladder.
If the shot tastes only sharp and thin, and it runs fast and evenly with no spraying, that is under-extraction. Grind finer. The extraction charts show which direction each lever moves the cup.
Channeling is specifically the both-at-once cup. Sour and harsh, hollow in the middle, unreliable from shot to shot with the same settings. That inconsistency is the giveaway, because recipe faults repeat and channeling comes and goes. Over and under extraction covers how the same shot can land on both ends of the scale.
The verdict on espresso channeling
Espresso channeling is a puck problem, not a recipe problem, and the fixes are cheap. Work in this order and change one thing per shot.
- Weigh the dose to suit the basket size.
- Stir the grounds with needles to break up every clump.
- Level the surface before tamping.
- Tamp flat and square, and do not tap the portafilter afterwards.
- Match the tamper to the basket, and check the basket for dents.
- Only then look at grind size and grinder quality.
Most home setups get consistent within a week of adding two habits: weighing the dose and stirring the grounds. If shots still spray after that, the basket, the tamper fit or the grinder is the limiting part, and that is worth spending money on because the technique is already right.
Quick answers
What does espresso channeling taste like?
Sour and harsh in the same sip, with a hollow middle and a short finish. Water over-extracts the coffee it rushes through and barely touches the rest, so you get both faults at once. A cup that is only sour, or only harsh, is usually a recipe problem instead.
How can I tell if my shot is channeling without a bottomless portafilter?
Watch the timing and read the puck. A shot that starts slow then suddenly gushes, or finishes far faster than usual at the same grind, is a strong clue. After the shot, knock out the puck and look for holes, cracks, or a wet soupy patch.
Does grinding finer stop channeling?
Usually the opposite. A finer grind raises resistance, and higher pressure looks harder for a weak spot in the puck. If you have already gone finer and the shot got worse, step back and fix distribution, dose and tamp level before touching the grinder again.
Is a WDT tool worth it?
For most home setups it is the single biggest improvement in shot consistency, and the tool is little more than fine needles in a handle. Stirring the grounds in the basket breaks up clumps that fall straight out of the grinder. A bent paperclip works as a test.
Can the basket itself cause channeling?
Yes. Worn or dented baskets have uneven hole patterns, and a tamper that is narrower than the basket leaves a loose ring of coffee at the edge. Water takes that gap every time. Match your tamper to the basket size and replace baskets that look battered.
Why did channeling start with a new bag of beans?
Fresh beans give off gas for a few days after roasting, and that gas disturbs the puck as water hits it. Different beans also grind differently, so your old setting may no longer suit. Rest the beans a few days and re-dial rather than fighting the puck.